Easy Way to Remove Fly Away Hair in Gimp
When portraiture is done well, it can be very satisfying and say a lot about the person in the photograph. However, there's always an element that causes problems for me: fly-away hair. They're the strands of hair that stick out from the person's head and make your photo look. Particularly if you're photographing corporate or fashion images, they're unacceptable and need to go!
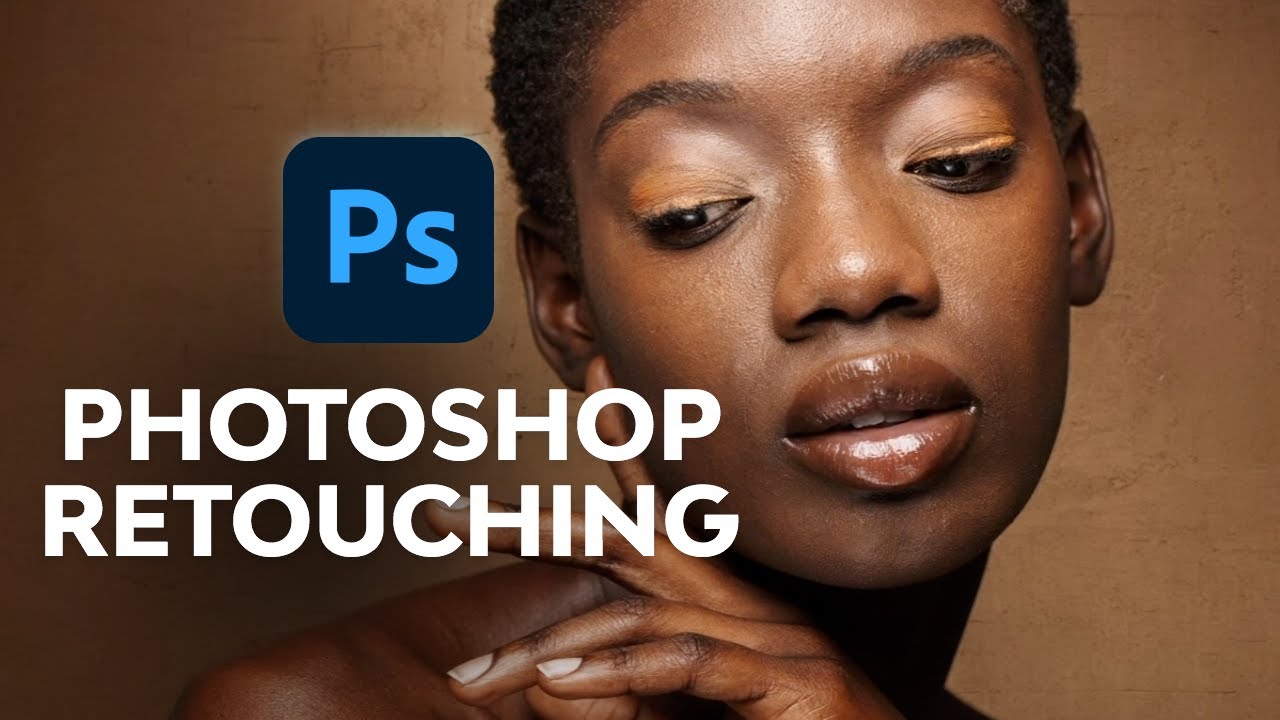
In this tutorial, you'll learn how to remove fly-away hair in portraits. Watch the video below from Abby Esparza to learn how to put these techniques into action, or follow along with the text.
Finding a Balance
There are three main techniques to tackle fly-aways while keeping the result natural-looking. As with any retouching, it's a balancing act of taste against need. If you go too far, then you'll end up with "helmet hair" which often looks fake.
Retouching an image is supposed to be subtle enough that the viewer doesn't notice it. A lot of that comes from producing the shot properly in the first place, but the rest comes from good technique and application.
Having your subject well-groomed or using a hair stylist can be really helpful in reducing the amount of time and effort needed later. For the rest, use these three techniques.
Technique 1: Clone Stamp Tool
Clone Stampis the obvious choice for removing hair in Adobe Photoshop. Sample the clean area and then brush the hair to blend it with the background. If you've used this tool before, you'll notice that it has shortcomings.
Its main strength is also a weakness; it copies exactly what you sample, which can be a problem with textured backgrounds or variations in color or luminosity. However, with evenly lit and evenly coloured backgrounds, theClone Stamp is the perfect tool.


You can refine your cloning and reduce problematic variations by using differentBlend Modes for the brush. I use three different modes:
- Normal
- Darken
- Lighten
TheNormalmode works most of the time, but sometimes it's too exacting and can be a problem with backgrounds that have a slight texture. Using the other two modes can make my changes hair-thin.

I use theDarkenblend mode to retouch lighter hair against a darker background. I use theLighten,blend mode to retouch darker hair against a lighter background.
The effect stops once the hair reaches the same luminosity and color value as the sampled area. It will leave the areas that already match untouched, so your corrections are only a couple pixels wide even if your brush size is many times larger.
Technique 2: Healing Brush Tool
TheHealing Brush is a more refined version of theClone Stamp tool. It copies the color, luminosity, and texture from the sampled area over to the target area. It then applies some math and seamlessly blends the two into something that looks natural.
TheHealing Brush is great for removing blemishes, pimples, unwanted facial or body hair, sensor dust, etc. It works better than the cloning technique mainly because it isn't an exact copy, but smoothly blends the sample areas with the target's surroundings.
Use this tool for backgrounds that are a little more complex or textured. You can also use it to clean up mistakes Clone Stamp has made while preserving the texture. I use it for hair that crosses the face or is on clothing so that I can be rid of it without losing the complexities of the skin or fabric.
Again, you can use the Blend Modes to further refine your retouching.
Unfortunately, Healing Brush doesn't do well when the target area is too close to a hard line, like the edge of someone's head. You'll get a blurred bleed and it looks messy. In this case, theClone Stamp tool may be better suited, adjust the brush's hardness to match the transition.


Brush Settings
Now I've been through two tools you can use to remove errant hair, we'll go through some common settings.
I use a Wacom tablet for maximum control and flexibility, but this will work with a mouse, too. If you don't own a Wacom and you're doing retouching, then buy a pen tablet. They start at about $80 (USD) and last a long time. Mine is six years old.
Clone Stamp
I usually keep the default shape settings, a circle, and use it at 100%Opacity. I vary the hardness of the brush, but rarely go over 80%. In fact, I use this brush at 0%, 20%, 50%, and 80% increments as I've found it covers most of my needs.
There are times that I'll use a different hardness setting, but that is case-by-case and with the pen tablet, I can vary that further with pen pressure.
Like I mentioned earlier, I utilize differentBlend Modes when I need to. Appropriately matching these different settings to your situation will result in very good cloning and a faster workflow.
Healing Brush
A lot of people would tell you to use this brush with a soft edge. I'm going to tell you to do the opposite. Keep it at 100%Hardnessall the time. Additionally, change your brush's shape (Roundness) to a narrow ellipse between 20 and 30%. I also angle it and change the direction, depending on my needs.

These settings help theHealing Brushwork better by forcing it to re-sample more often and more randomly than a soft-edged circle. Since theHealing Brushautomatically applies blending, you really don't need a soft brush.
The results have been very natural as well as a greatly reduced risk of that edge blurring I mentioned earlier.
Finally, keep your brush size only slightly larger than the area you wish to correct, especially with fly-away hair close to the edge of someone's head or if the background changes color or luminosity too greatly.
Technique 3: Surface Blur
While this technique is mainly independent of the other two, it does incorporate the others for maximum efficiency. It is a really quick way to remove nearly all fly-away hair with a single filter effect and some basic masking.
UnlikeGaussian Blur or the other blurs,Surface Blur doesn't blend the edges beyond its threshold setting.Surface Blur considers something an "edge" when there is a significant change in color and/or contrast. Things like skin, clothing, and other fine details will be smoothed, but not the edge of someone's face - or the main mass of hair.


Surface Blur is a great way to clean up a hair edge when you have a gradient background where theClone Stamp would struggle. It will do a nice job maintaining gradual tonal changes while keeping hard edges well-defined.
Give it a go when you have an image with a graduated background.
Let's get into the steps for usingSurface Blur to clean up hair in your images.


Step 1: Create a New Layer
Drag the layer onto the "Create New Layer" icon (Cmd+J orCtrl+J) so that you can work non-destructively. You can convert this new layer into aSmart Object (Layer > Smart Objects > Convert to Smart Object) to be able to change your settings without having to reapply the filter from scratch. Converting to aSmart Object is optional.
Step 2: Apply the Surface Blur
Go toFilter > Blur > Surface Blur in order apply it. You'll see a preview of the effect at its current settings.
TheSurface Blur filter has two sliders,RadiusandThreshold. TheRadiusdetermines the amount or strength of blurring. TheThresholddetermines the tolerances of what the filter considers to be an "edge."
Going too low with theRadius will give you a halo and going too high with Threshold will make you lose your edges.You'll need to adjust the sliders so that the fly-away hair disappears due to the blurring, but the main body of hair and hard edges remain quite sharp.
This will take some experimenting and will vary from image to image. However, I've found that aRadius of 40 pixels andThreshold of 20 pixels gives me great results.


Once you've got the settings pretty close, apply it and evaluate the results. A lot of the isolated hair should be gone or mostly gone.


Step 3: Clone Stamp Clean-up
There are times when theSurface Blur gets the job done, but often you'll need to tackle the few that got away. With a soft-edge brush,Clone Stamp those escapees by sampling very close to the target area to avoid noticeable color variations. I keep my brush no higher than 50% hardness.


Try not to make the hairline too clean because then it will look unnatural. You can do a second round of Surface Blur at lower settings if it could use a little more general refinement.
Step 4: Create a Layer Mask
Now it's time apply the effect only to the outer hairline. Create aLayer Mask on your layer with theSurface Blur by clicking the "Create Layer Mask" icon. Invert the color of the mask from white (visible) to black (invisible) withCmd+I (Mac) orCtrl+I (PC). This will hide the effect.

Now, with a hard-edged brush (about 80%) reveal the effect by painting on the mask with white over the areas you wish to remove. You don't need to be very precise because Surface Blurshould maintain the edging of the main body of hair.


Step 5: Add Noise
Surface Blurusually removes all the noise (grain) in an image. This lack of texture can ruin the effect by being too smooth. We'll need to add noise in a dosage that matches the rest of the image.


Make sure you're working the image of theSurface Blur layer and not the mask by clicking on the thumbnail of the layer. Go to Filter > Noise > Add Noise.

In the Add Noisedialogue box,turn on theGaussianandMonochromesettings. Adjust the slider until the noise pattern and density closely matches the rest of the image. While not entirely necessary, this small detail does an excellent job hiding the retouching you've done.


Conclusion
Here's the before and after:


When you have a great portrait, sometimes fly-away hair can really be a pain. While cloning and healing are great, they do have limitations. Using them in conjunction with theSurface Blur technique can not only improve your retouching results, but also cut down on the time and tediousness of either technique alone.
With practice, you'll be able to evaluate an image and quickly decide which of these techniques will be most effective in removing fly-away hair.
Source: https://photography.tutsplus.com/tutorials/3-ways-to-retouch-fly-away-hair--cms-20373
0 Response to "Easy Way to Remove Fly Away Hair in Gimp"
Post a Comment